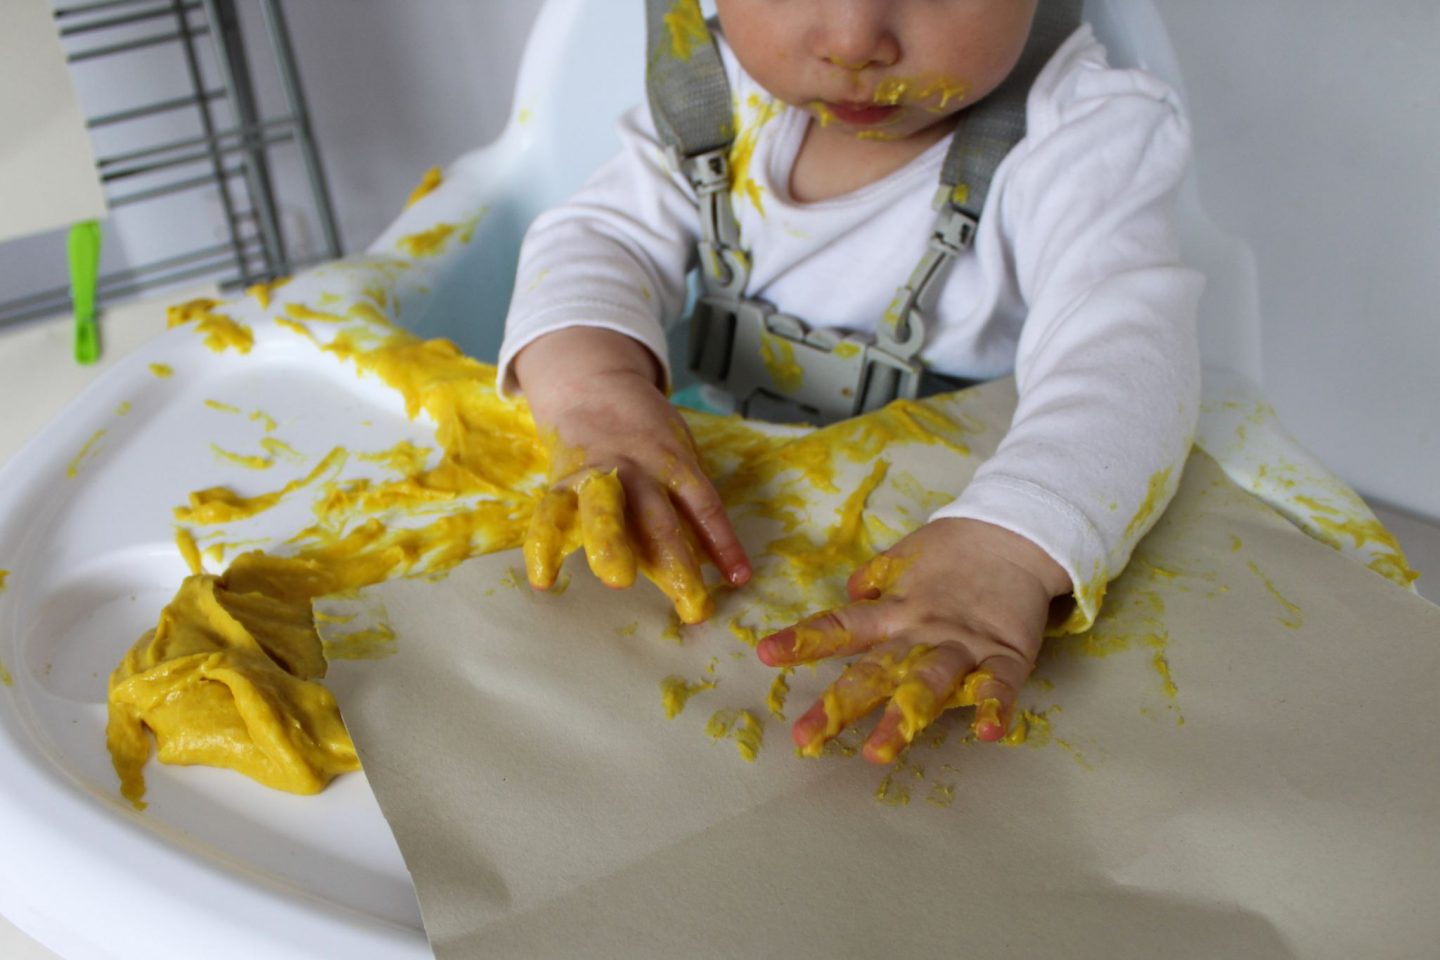
Little kids love tasting things. While this can be gross, and at times even dangerous, it is also a very important part of their learning and development. This post shares an edible paint recipe for babies and toddlers – it is perfect for any parent who has a child under the age of 3! The recipe uses flour as its base. I like it because it has a thick and gluggy consistency that babies love to squish in their hands.
Age range: 6 months +
Preparation time: 10 minutes
What you need
- 1/2c flour
- 1 tbs salt
- 3/4c cold water
- 3/4c hot water
- Food coloring (5-6 drops)
- Saucepan
- Whisk
- Wooden spoon
- Small plastic containers
Preparing the Edible Paint
- Place the flour and salt in a saucepan.
- Pour the cold water in the saucepan and whisk until smooth.
- Add in the hot water and whisk.
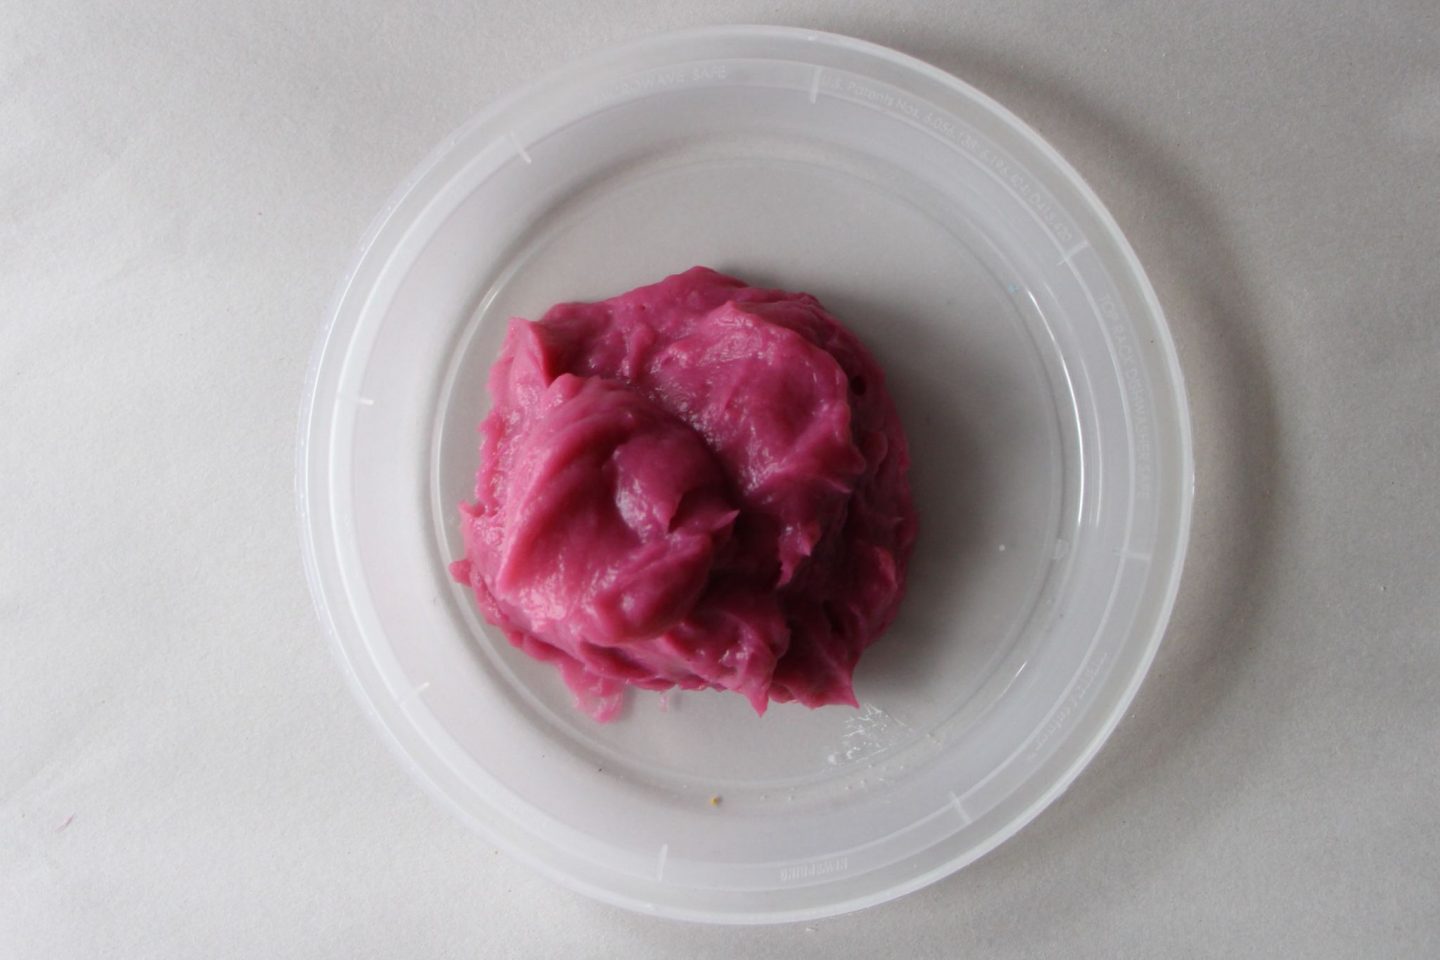
- Heat on the stove until it starts to boil. – this won’t take long. As soon as it does this, it will thicken. Take it off the heat.
- Add in the food coloring.
Getting ready for messy play
Edible paint is a great activity to do outdoors as it is going to get messy – and that is the whole point of it! If you don’t have an outdoor area, try setting up the activity in the bathtub or putting out a plastic table cloth or towel out to cover the play area. You could also try getting kids to wear old clothes or an art smock.
Try to embrace the mess as much as possible as kid’s tend to love it. But I know it can be full-on too! If it’s too difficult to manage, you could try putting out a small amount of paint at a time then replenish supplies as needed.
Taking children’s learning further
You can adjust how you setup this activity for different age groups. Here are some tips:
- 6 -12 months: Sit your bubba in a highchair. If you are concerned about mess, you could set the activity up outside or in the bathroom. Wrap a large sheet of paper (newspaper, wrapping paper or butcher’s paper) or foil around the highchair’s eating tray. Put the paint in small containers and let your little ones experiment with their hands!
- 12-24 months: Put the paint out alongside some big cardboard boxes or large sheets of paper. Have some other recycled cardboard boxes on hand that you can introduce later on if needed. If they lose interest in the cardboard, you could try getting out some plastic toys for them to paint and then put out a bowl of soapy water for them to clean them in. You could also do this activity in the bathroom where kids can paint the bath and shower walls, before washing it off! This age group will probably be most interested in exploring the paint with their hands but you could also introduce some additional tools, listed below.
- 24 months+: You could also try the set-ups above and then add in different tools if and when kids show interest. Such tools could include spatulas, paint/pastry brushes and chop sticks.
Once kid’s have finished playing with the paint, it is best to throw out and make a new batch next time you want to play with it!

Art Play Children Learning on Instagram
If you are keen to get some more kids art projects to do at home, please make sure you are following the Art Play Children Learning on Instagram!
I also recently uploaded this IGTV video that shares the step-by-step guide for making edible paint at home.
Happy making!
Louisa xx
Related Posts to Edible Paint
Kids art projects: Melting Ice Sculpture
Setting up a cardboard art activity for kids
Kids art projects: 3 creative activities from around the world
