Color is a foundational concept of visual art. By teaching color theory to children, we can help them to recognize and understand the make-up of different colors. This post shares the work of Josef Albers and presents two fun experiments that can be used to teach children (aged 3-7 years) about primary and secondary colors. You can also download these printable resources to extend children’s learning:
Once children are familiar with the basic concepts of color-mixing, they can apply this learning to different art mediums including painting, plastics, and textiles.
Josef Albers and the theory of color
Josef Albers (1888-1976) was a German-born artist, designer, and educator. He originally trained as a primary school teacher before studying painting at the Royal Academy of Arts. Albers then worked as a professor at the Bauhaus (Germany), before fleeing Nazi Germany for the United States. He then taught at the revolutionary Black Mountain College before becoming the head of design at Yale, a position he remained in until the end of his career. ⠀
Albers had a life-long love of color and wrote one of the most influential books on the topic, ‘Interaction of Color’ (1963). In this, he laid out a set of principles for understanding color. For example, he proposed that all colors can only be understood in relation to other colors around them. This means that how someone perceives a color can change depending on the colors that surround it. The video below summarizes this idea and shares a design activity based on Albers’ ‘Homage to the Square’ exercises.
The key principles of primary and secondary colors
Building on Albers’ principles, the following two experiments aim to teach children these understandings:
- There are 3 primary colors: Red, yellow, and blue
- There are 3 secondary colors: Green, orange, and purple
- Secondary colors are created by mixing two primary colors together
- How we perceive a color changes depending on what colors are positioned around it
Experiment 1: Shaving cream + food dye
Shaving cream and food dye can be used to make a sensory-play experiment for children to learn about primary and secondary colors.
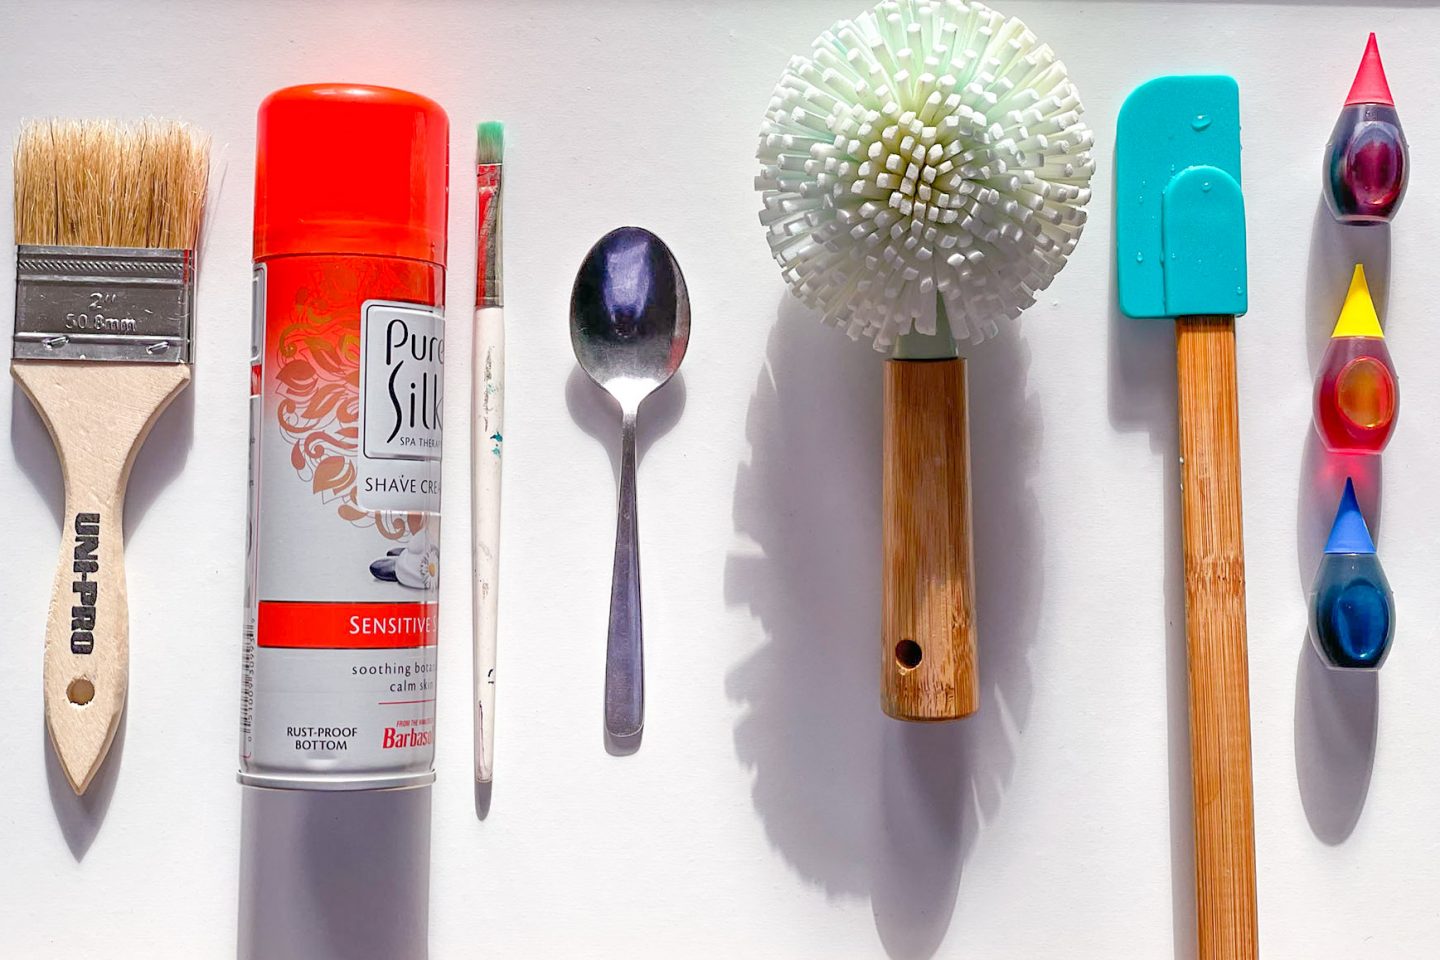
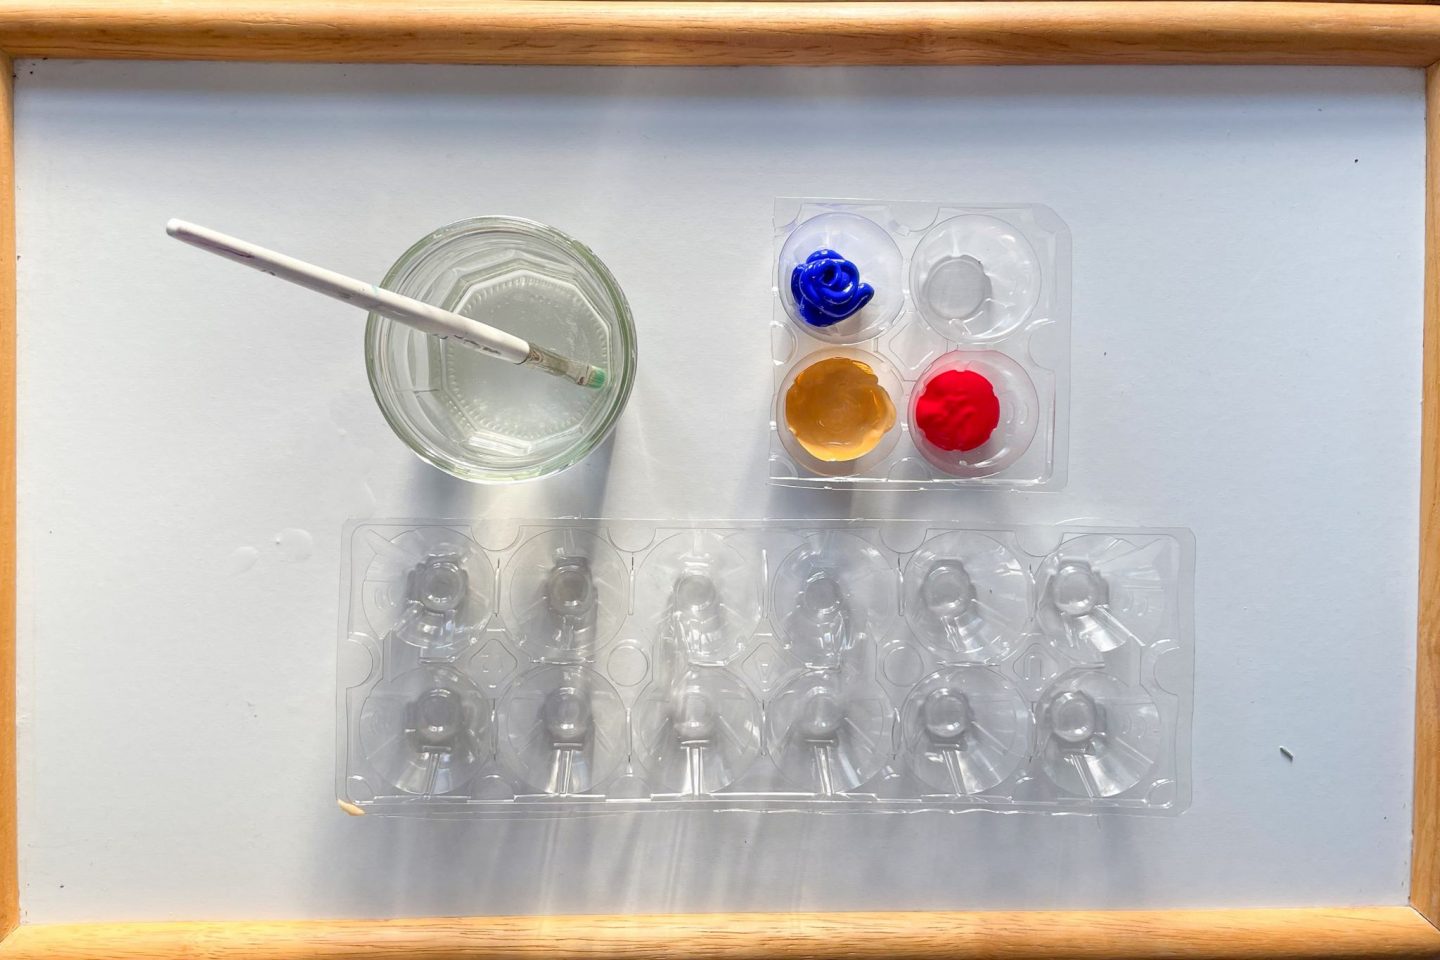
What you need: Shaving cream, food dye (red, yellow, and blue), 3 x plastic bowls, a plastic tray, and kitchen utensils that children can use to play with the shaving cream.
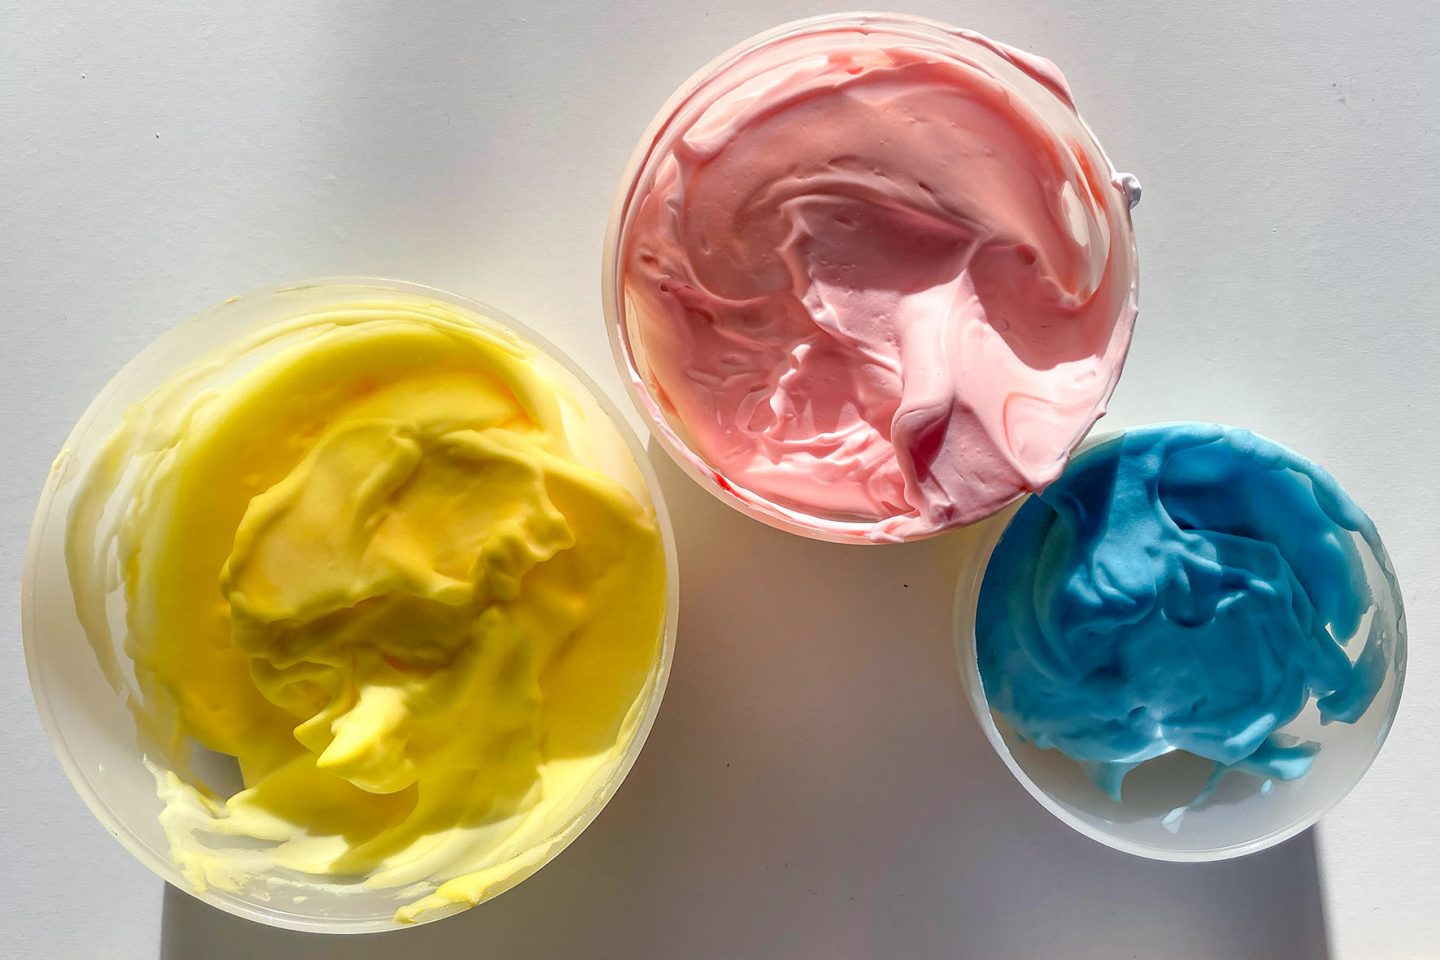
Let’s get ready: Ask children to squirt a fist-sized blob of shaving cream into 3 of the plastic bowls. Add one of the yellow, red, and blue dyes into their own blob of shaving cream and mix (pictured below). Name each color with your child as you go.
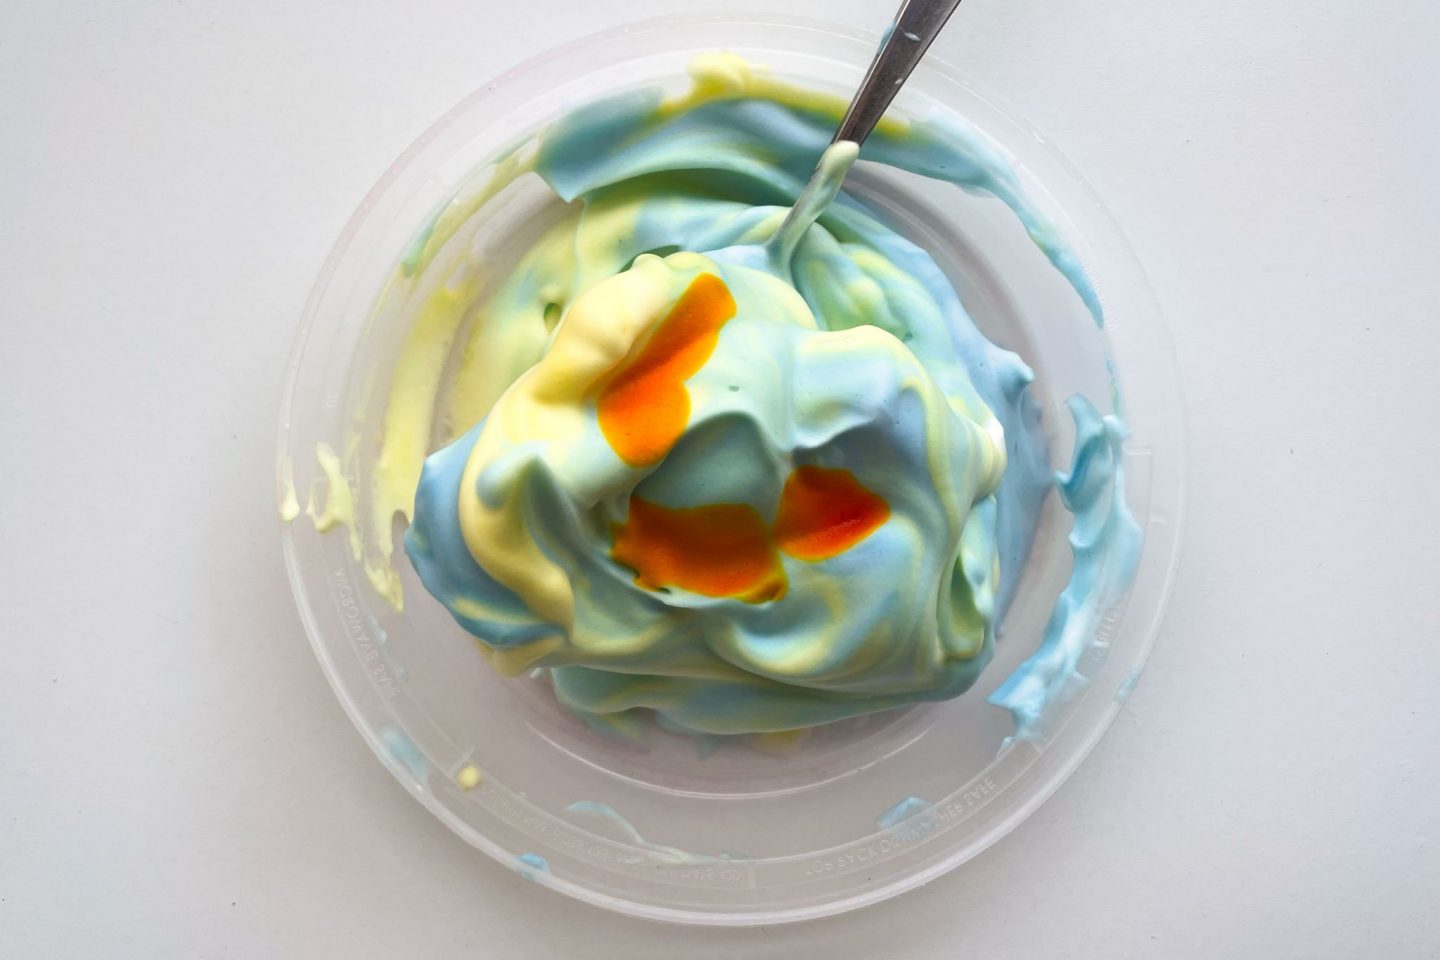
Let’s experiment: Set children the challenge of mixing 2 of the primary colors on the plastic try to see what new colors they make. For example:
- Yellow + Blue = ?
- Blue + Red = ?
- Red +Yellow = ?
Children can add more food dye or shaving cream to change the shades of the colors. Let children enjoy the sensory experience of playing with the shaving cream and dye. It will feel soft and slushy on their hands!
Children can use the utensils to play with the shaving cream on the tray. They may like to draw pictures in the shaving cream or make shapes out of its foamy texture.

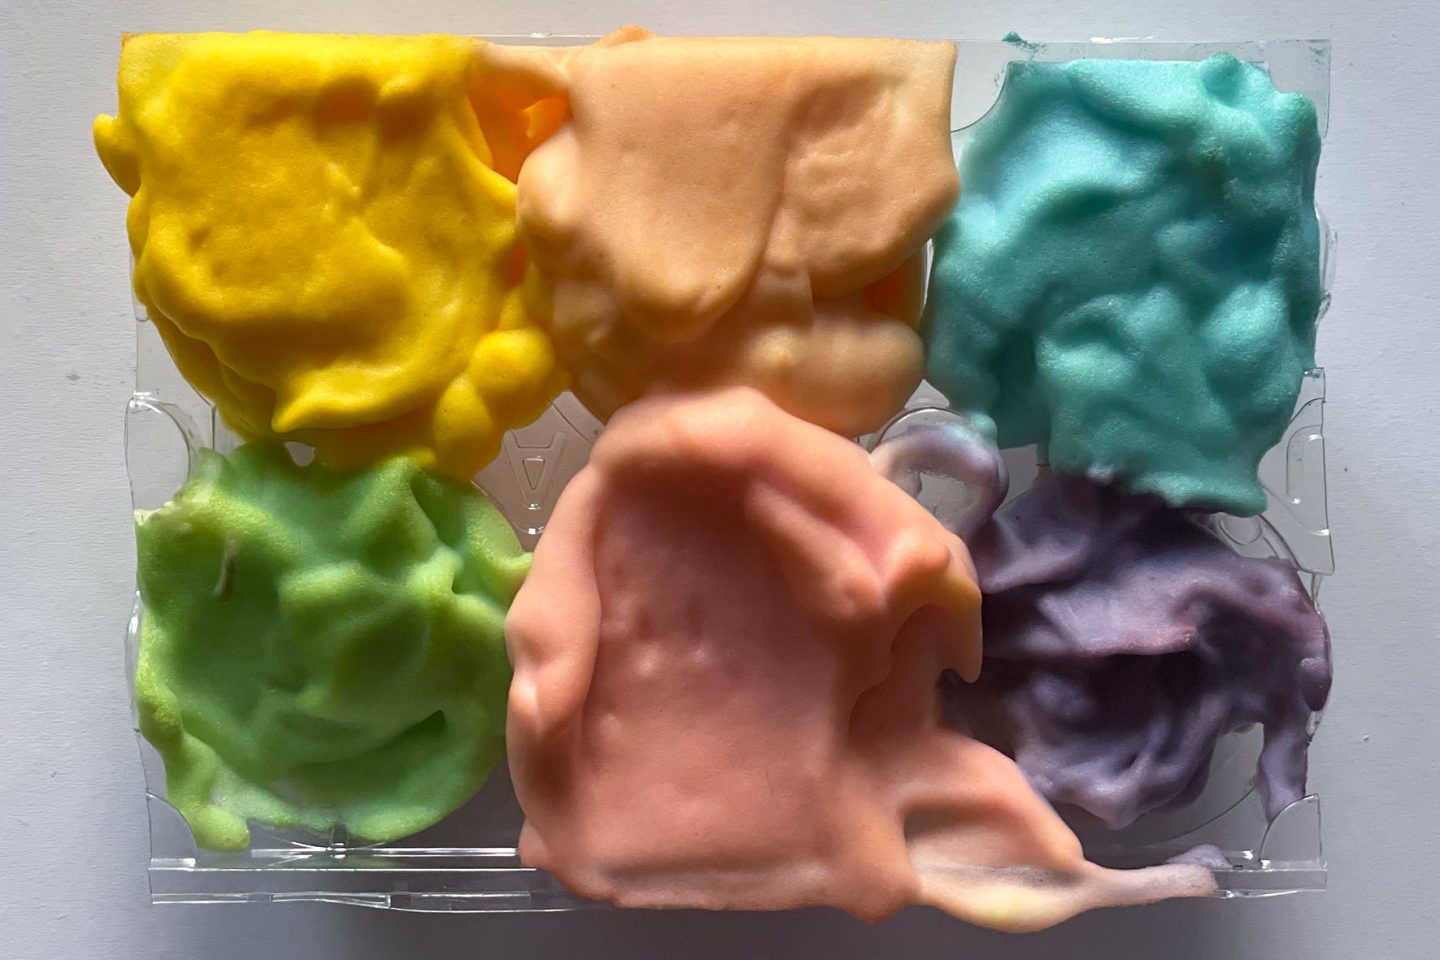
Let’s reflect: Ask children to keep a small sample of each color they make (pictured below). Once you have finished the activity, ask your child to tell you about how they experimented with the colors. The following questions could be used as prompts:
- What colors did you use to make using the green/purple/orange?
- Tell me about the trickiest part of making the colors?
- What surprised you?
- What would you like to make next out of colors?
Experiment 2: Paint + egg carton
Paint is another great medium to teach children about primary and secondary colors.
What you need: Yellow, blue, and red paint (tempera or acrylic will work best), a paintbrush, water jar, a paint tray (an ice-cream container will work well), and an egg carton.
Let’s get ready: Ask your child to squeeze out a small amount of each paint onto a paint tray. Setup the water and egg carton so that your child can easily reach all the materials.
Let’s experiment: Set children the challenge of mixing 2 of the primary colors together in each section of the egg container to see what new colors they can make. For example:
- Yellow + Blue
- Blue + Red
- Red +Yellow
Children can try mixing different amounts of the two colors together to make different tones of the secondary colors. Once they have made their different colors, children can then use these to paint other objects. For example, you could make a 3-D canvas out of recycled cardboard and paint it using the colors. Children could also name the different colors that they make and record them by taking photos.
Let’s reflect: The following questions can be used to encourage children reflection and learning on this experiment:
- What are the primary colors?
- What are the secondary colors?
- Can you tell me what the difference between primary and secondary colors is ?
- What colors did you need to make orange/green/purple?
- Did you find out what happens if we mix all of the colors together?
Download the color theory printable resources
Here are the two printable resource again. These help to reinforce key concepts explored in the activities above!
Happy making!
Louisa
Great children’s books about color theory
Mix it up by Herve Tullet (Chronicle Books, 2014).
The Game of Red, Yellow, and Blue by Herve Tullet (Phaidon, 2012)
A Color of His Own by Leo Lionni
Related Posts
Josef Albers on the wonder of color in art education