Ice is such a fun material for kids to play with! It is easy to make and it changes form over time which means it is perfect for process-led art activities. In this post, I share how you can do your own melting ice sculpture at home with your little ones!
Age range: 18 months +
Preparation time: 10 minutes (ice needs to be frozen over night)
What you need
- Water
- Salt
- Acrylic paints or food coloring
- Large Tupperware container or cake tin container to freeze ice
- Large plastic tub or tray for kids to play with the ice in
- Small containers (yogurt pots are perfect)
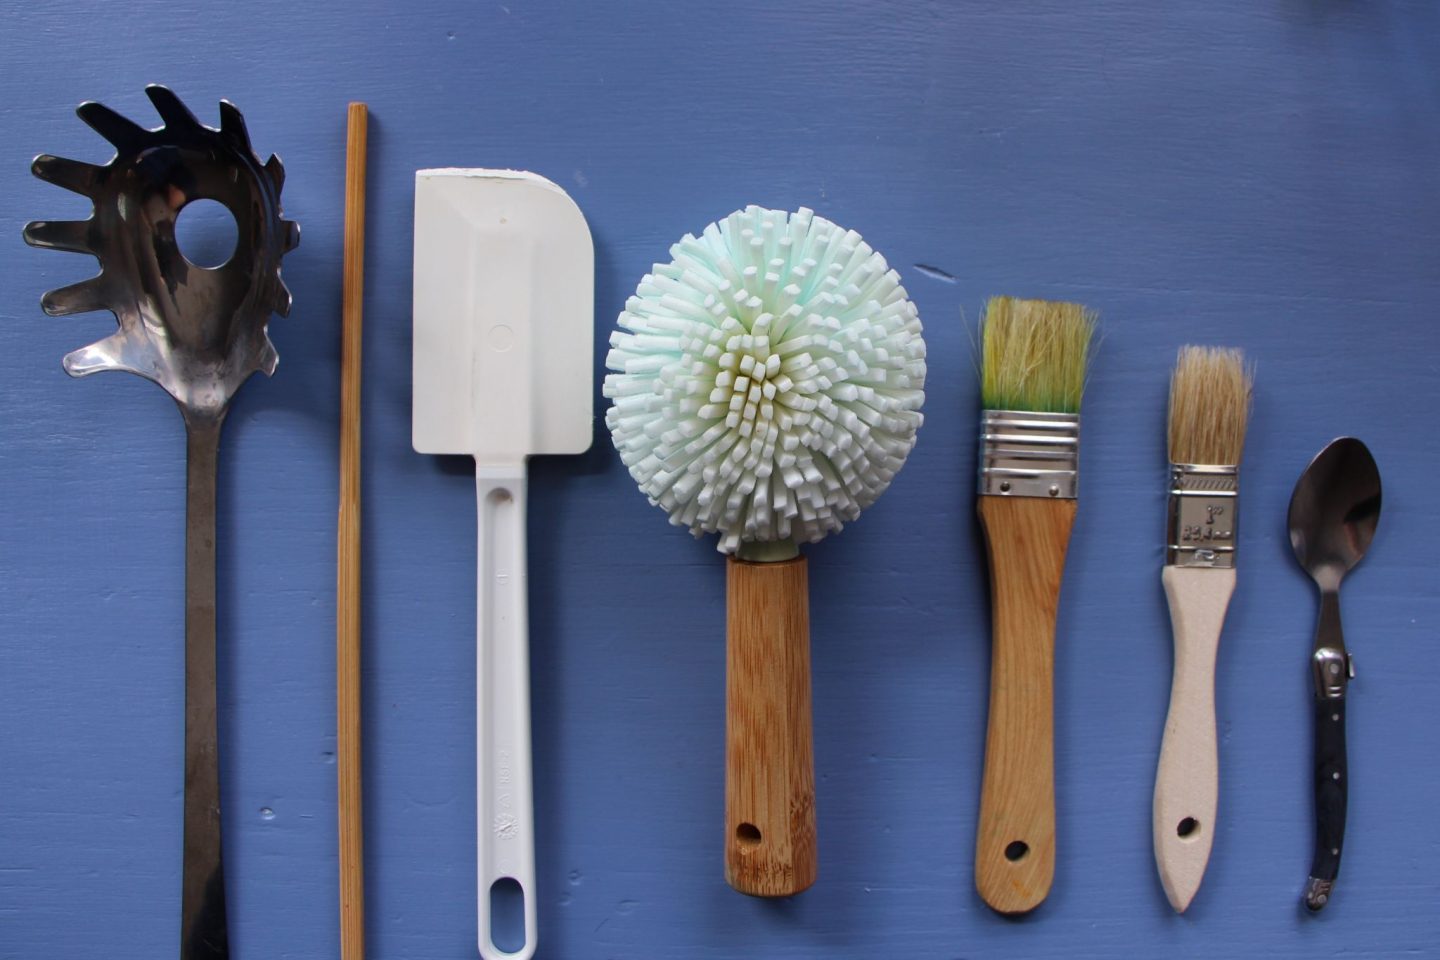
- Paintbrushes and kitchen utensils
- Additional equipment: Spray bottles for the paint, spice shakers, children’s toys to freeze in the ice and a camera to document the ice melting over time.
Preparing the melting ice sculpture
- The night before you do the activity, freeze some water into the large Tupperware container or cake tin. Add any small children’s toys, such as dinosaurs or gemstones into the water if using.
- Once frozen, tip the large ice block out into the large tub or tray. You may need to run the ice under hot water for 30 seconds to loosen it from the plastic container before tipping out. This activity is perfect to do outside on a warm day if you have the space!
- Squeeze 2-3 tablespoons of poster paint into the small containers. If using food coloring, only dilute the color a little – 2 drops food coloring to 1 TBS water works well.
- Place some table salt into a small container or into an empty spice shaker.
- Layout paintbrushes and kitchen utensils.
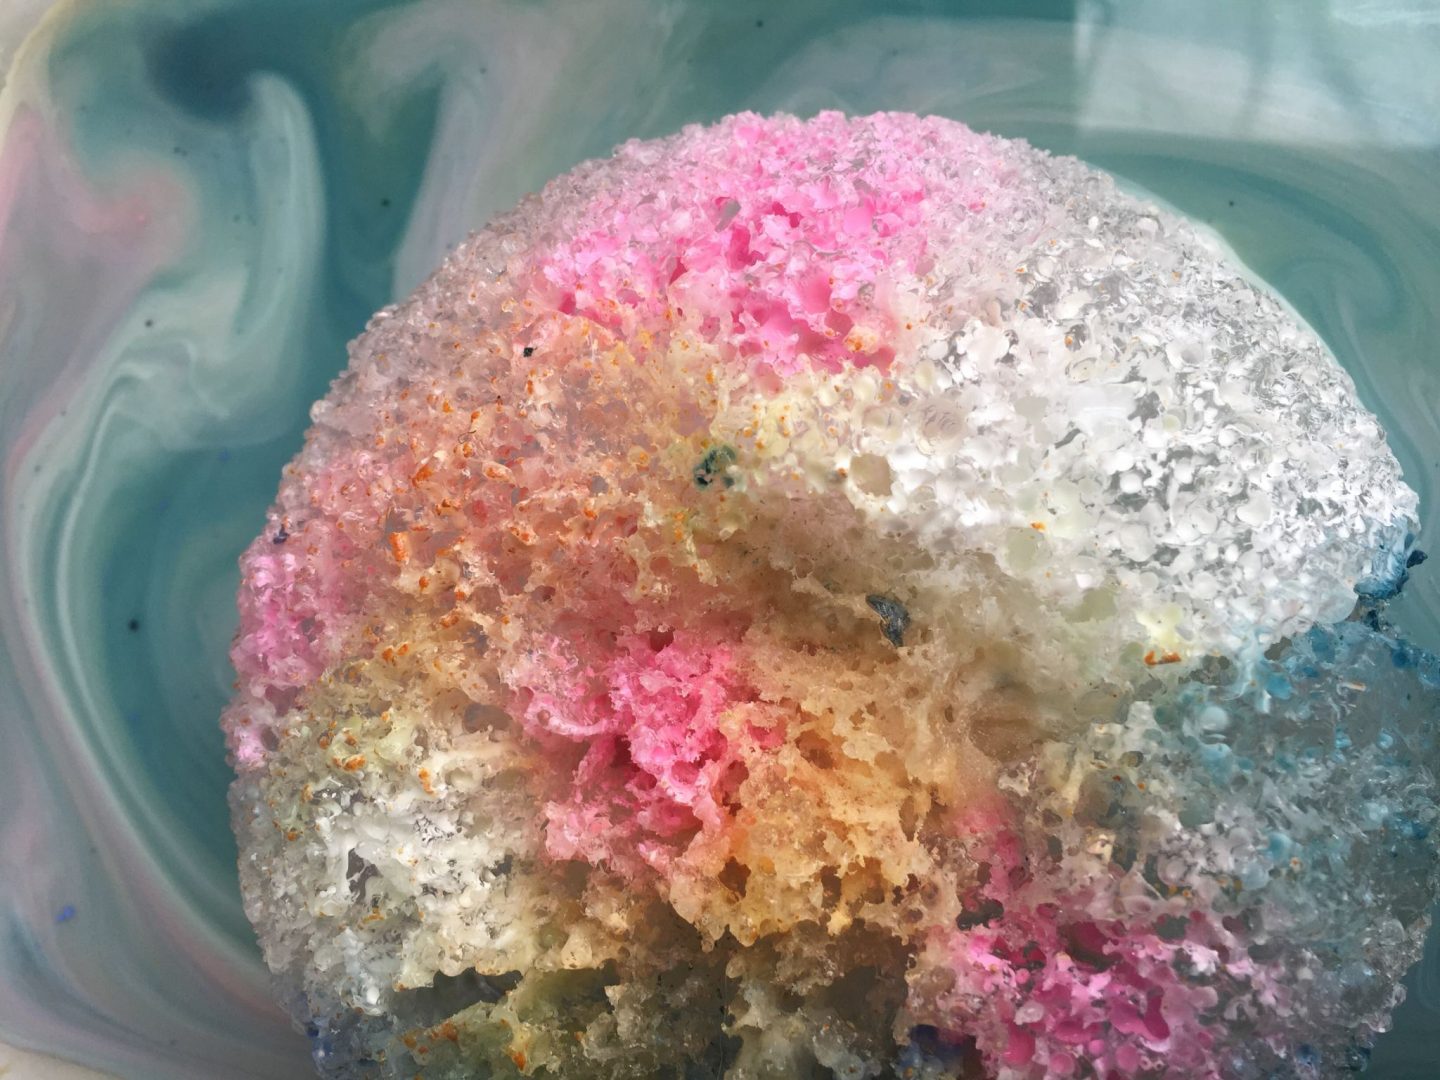
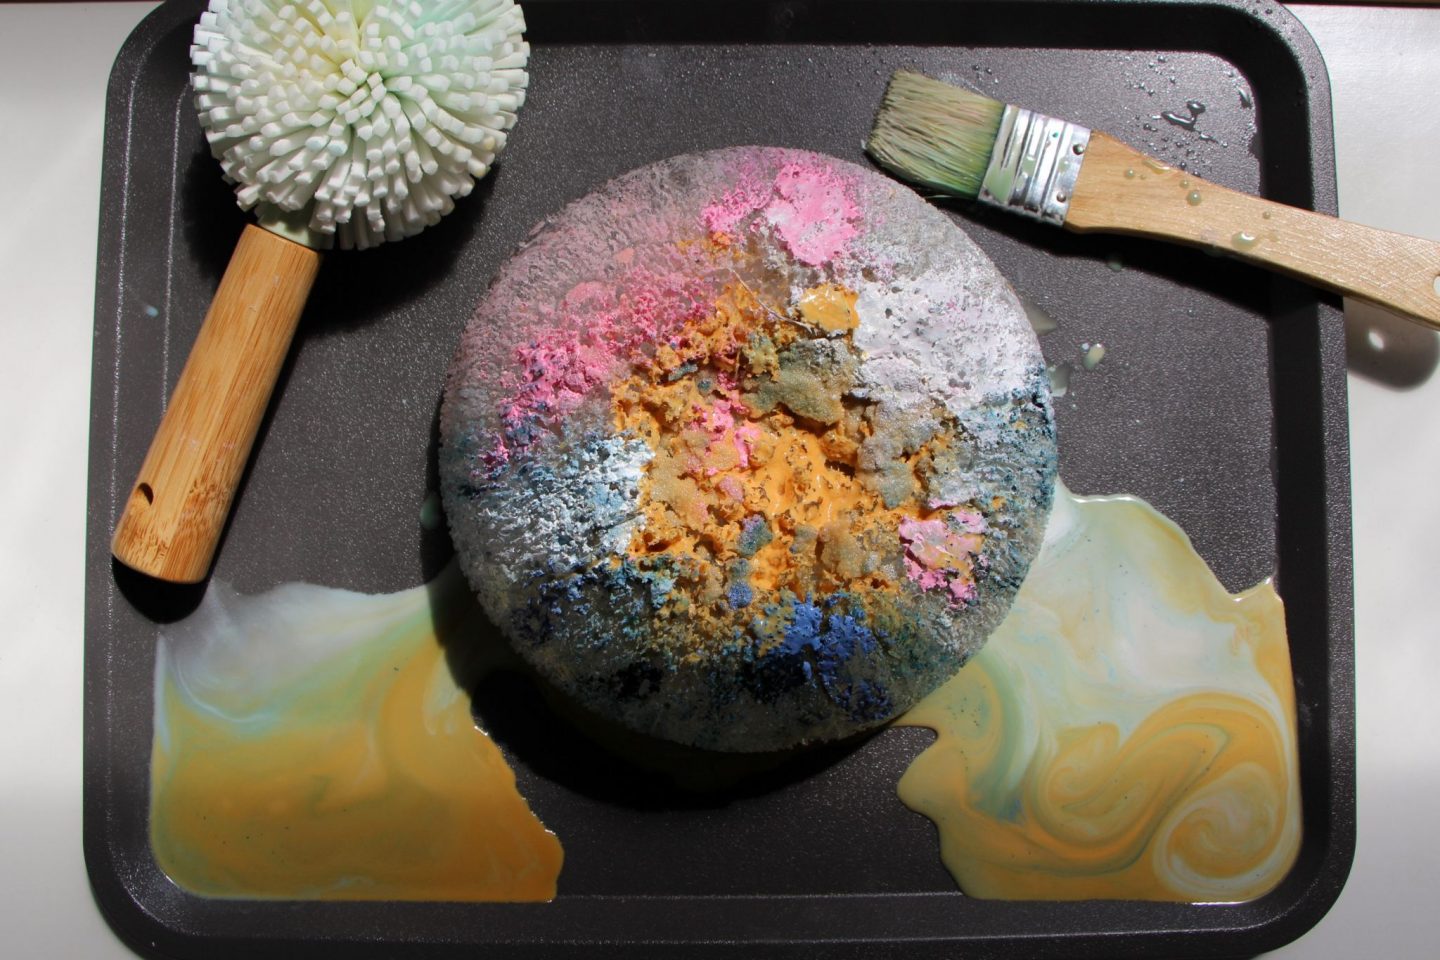
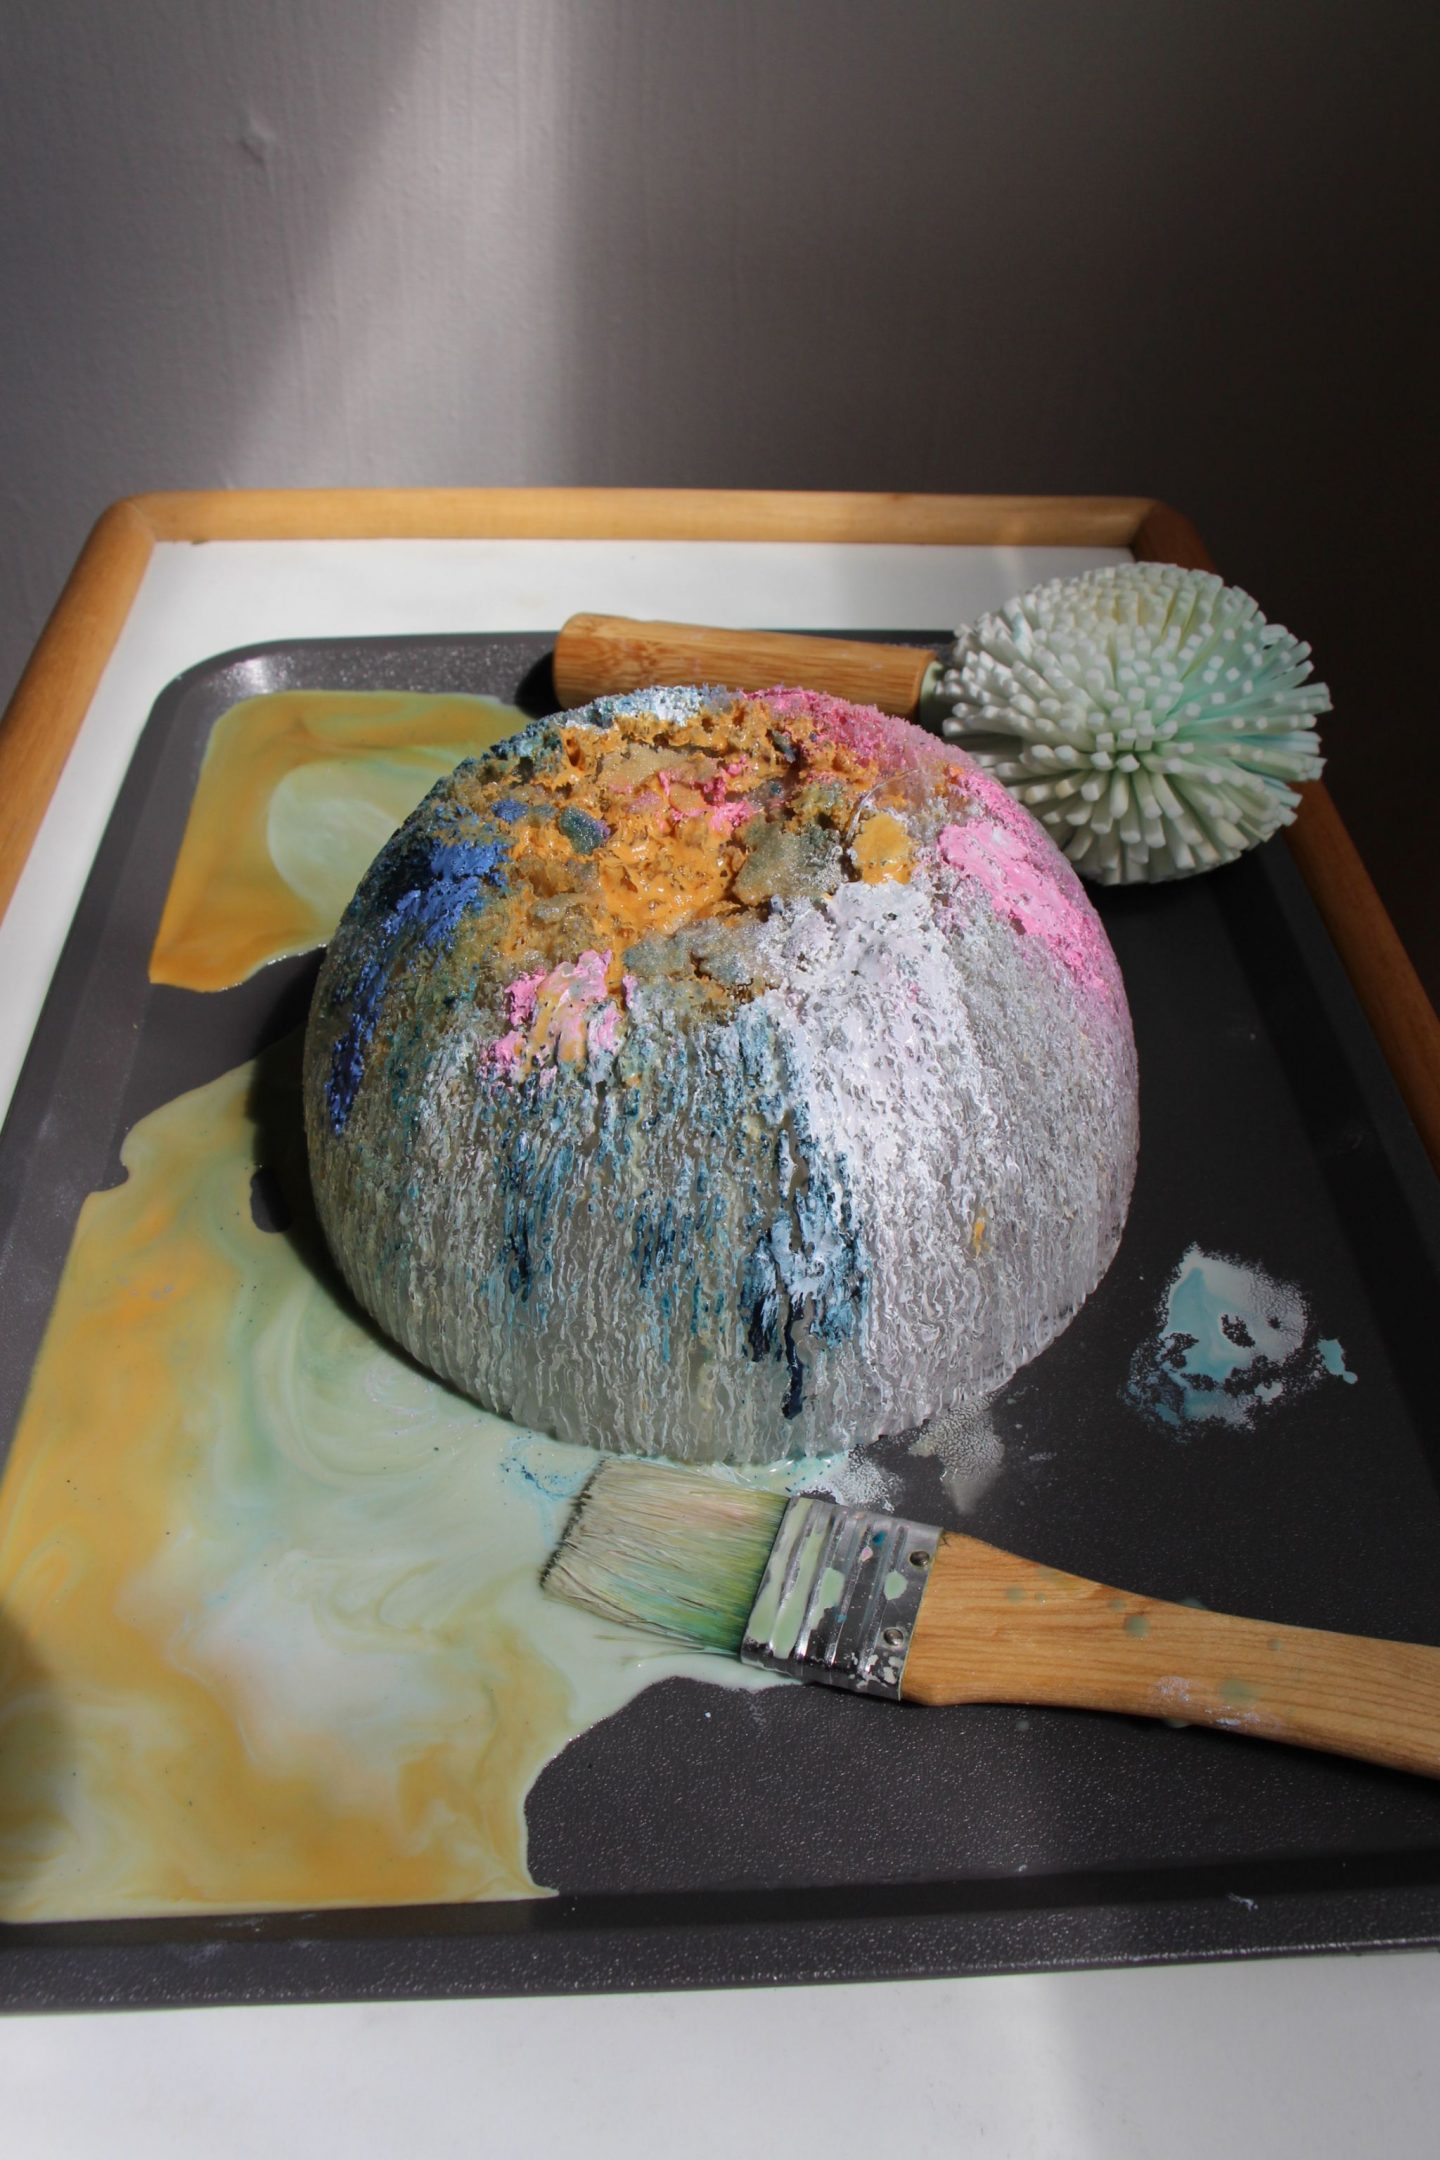
- Kids can then experiment with the ice, colors and salt! The salt will melt the ice and the paint will create beautiful streams of color. The sculpture itself will change form dramatically over time. Mine took 2-3 hours to fully melt.
Taking children’s learning further
The most important thing for kid’s to do with the melting sculpture is to just experiment and have fun. Try not to intervene too much in your child’s play unless they needed a hand with something. If they get stuck or board , you could try extending their learning by:
- Asking open-ended questions such as: “why do think the ice is melting like that?” and “What do you think might happen if we put hot water on the ice?”
- Introducing new vocabulary words like freeze, thaw, liquify and solid.
- Demonstrating how to use different tools or kitchen utensils to transform the ice in different ways.
Hot tips
- Kid’s hands can get cold playing with the ice so try having some tools out, like paintbrushes and spoons so they are not continuously touching the cold surface.
- Once your ice sculpture has melted, tip the liquid out away from plants as it can be very salty which isn’t great for plants.
- Babble Dabble Do have also put together a great ice art activity.
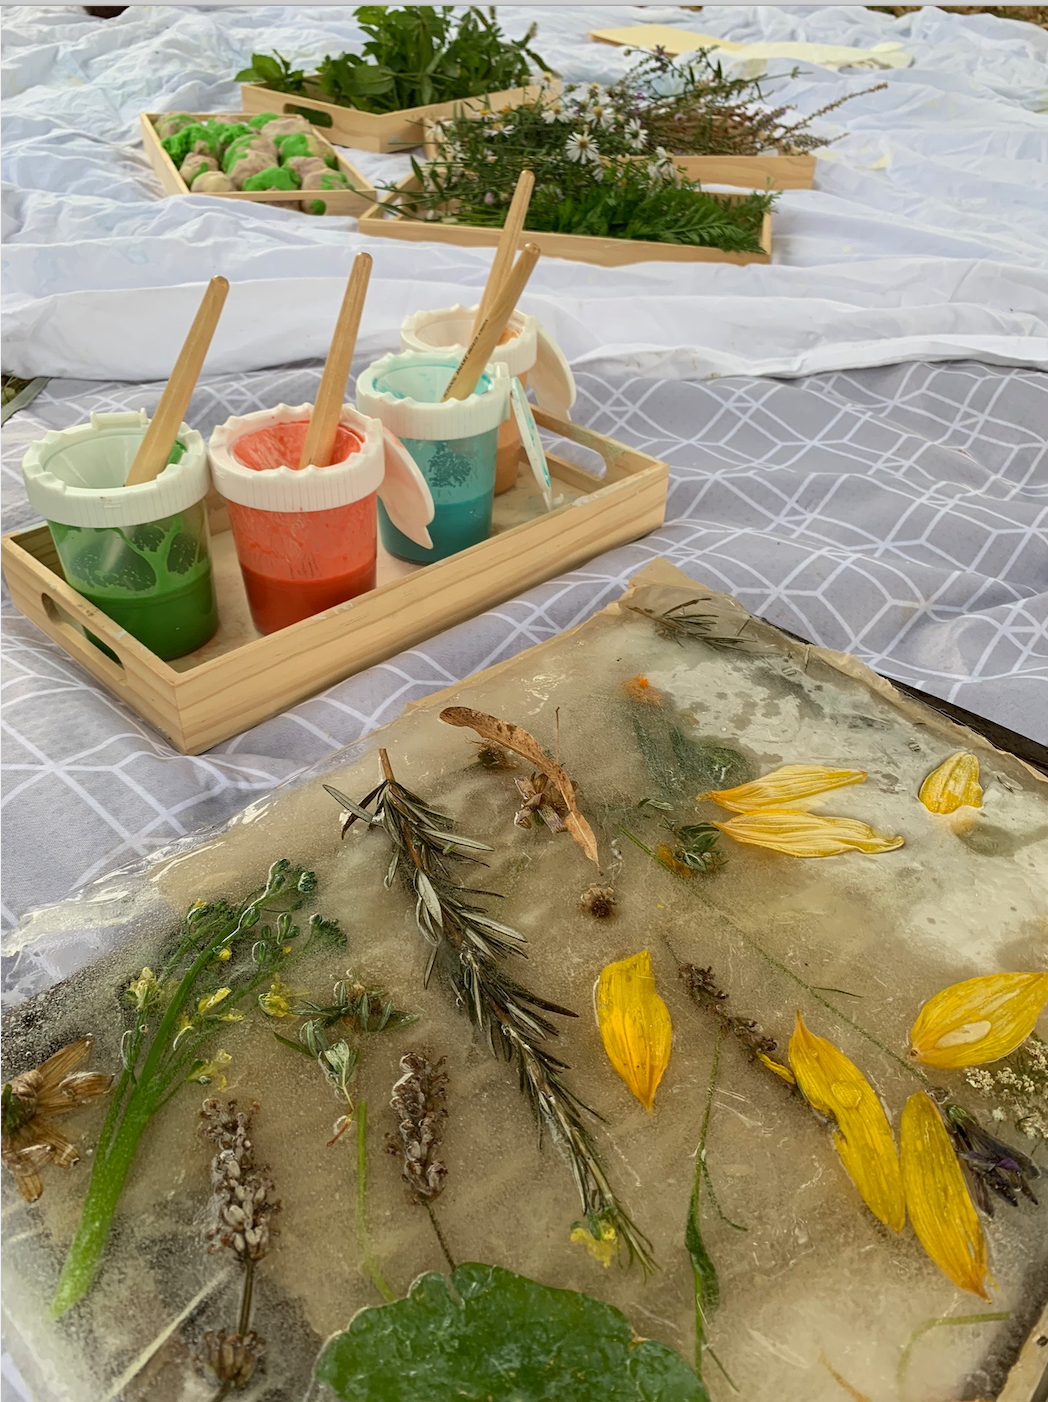
- Natural Materials can also look spectacular frozen inside the ice. The picture below is of an activity run by The Nature Atelier, a creative children’s space based in Portland, Oregon. They also have a great Instagram account with lots of creative ideas to do at home with kids.
About Melting Ice Sculptures
Many different artists have also used ice to make sculptures. One of the most famous ice sculptures that have been exhibited in recent years is ‘Ice Watch’ (2014) by the Danish artist, Olafur Eliasson. The artist got twelve giant blocks of ice that had melted off the North Pole and displayed them as public art in cities including Berlin, Paris and London. The sculpture was conceptually exploring climate change and how this is contributing to global warming.
Brazilian artist, Néle Azevedo has also created ice sculptures that are displayed as public art. Watch this video to see the incredible preparation her and her team do for each artwork!
Please let me know if you give this activity a go! And if you upload the picture to Instagram, you can also add the hashtag #artplaychildrenlearning so I can cheer you on.
Happy making!
Louisa x
Related Posts
Kids art projects: 3 creative activities from around the world